Finding the perfect vanilla cake recipe is like finding a great pair of jeans; once you have the right one, everything else just clicks. A truly exceptional vanilla cake should be more than just “plain”—it should be buttery, cloud-like in texture, and deeply aromatic.
The secret to a world-class vanilla cake lies in the balance of moisture and structure. By combining the rich flavor of butter with a splash of oil for lasting softness, and using buttermilk to tenderize the crumb, you create a cake that stays moist for days. Whether you are a seasoned baker or a total beginner, the key is using room-temperature ingredients and high-quality vanilla extract to ensure every bite is a celebration of flavor.
Why This is the Last Vanilla Cake Recipe You’ll Need
Most people struggle with vanilla cakes being too dry or tasting like “nothing.” This recipe solves that by focusing on the science of the crumb. We aren’t just making a sponge; we are building layers of flavor.
By using all-purpose flour (which most of us have in the pantry) but treating it with the care of a professional pastry chef, you get a bakery-standard result without the specialty grocery trip.
The Magic Ingredients
-
The Fat Duo: We use both butter and oil. Butter provides that nostalgic, rich taste, while oil ensures the cake remains moist even if you keep it in the fridge.
-
The Acid Fix: Buttermilk is our secret weapon. The lactic acid breaks down gluten, making the cake incredibly tender.
-
The Vanilla Factor: This isn’t the time for imitation flavoring. Use pure vanilla extract or, if you’re feeling fancy, vanilla bean paste for those beautiful little black specks.
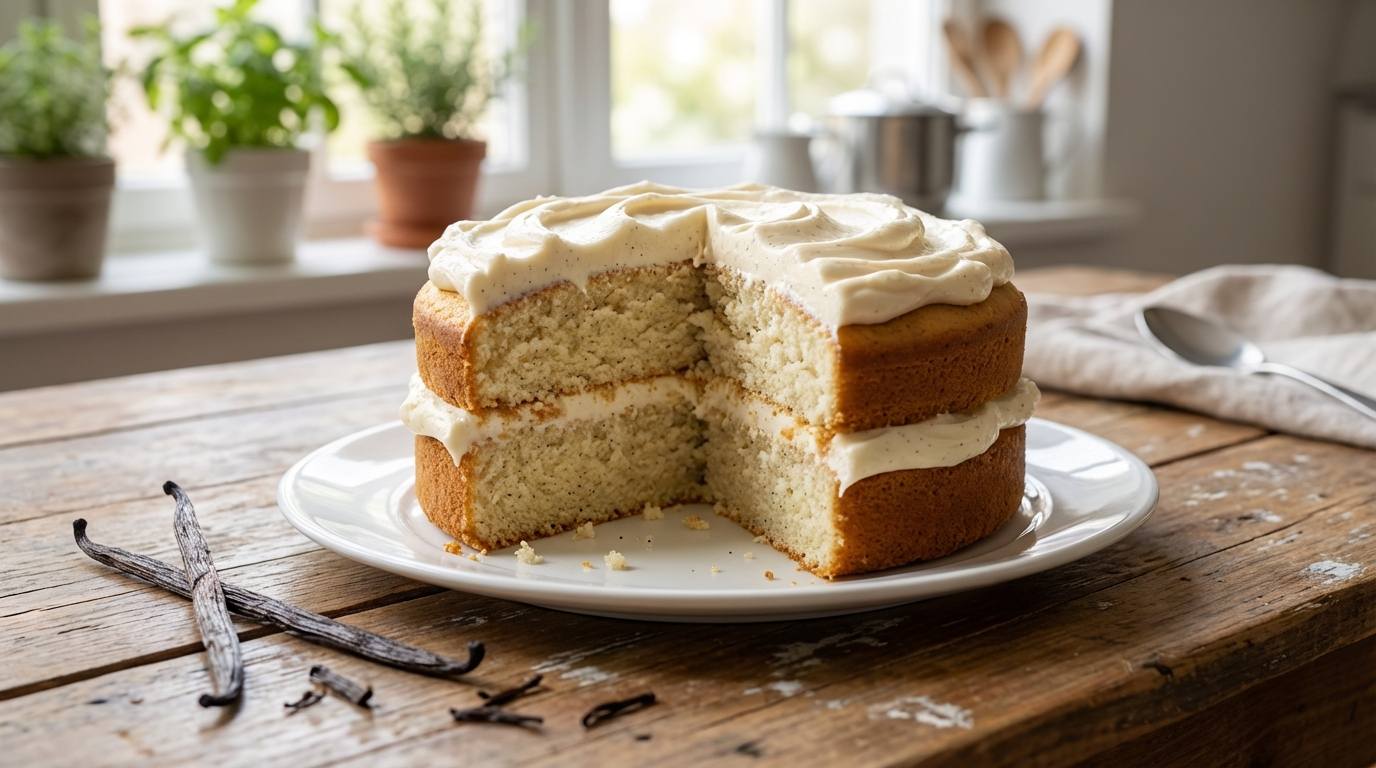
The Recipe: Moist & Fluffy Vanilla Cake
Yields: Two 8-inch round cakes | Prep time: 15 mins | Bake time: 30 mins
Ingredients
| Category | Ingredient | Amount |
| Dry | All-purpose flour (sifted) | 2 ½ cups (315g) |
| Granulated sugar | 1 ¾ cups (350g) | |
| Baking powder | 2 ½ tsp | |
| Salt | ½ tsp | |
| Wet | Unsalted butter (softened) | ½ cup (113g) |
| Neutral oil (Vegetable/Canola) | ½ cup (120ml) | |
| Large eggs (room temp) | 4 | |
| Pure vanilla extract | 1 Tbsp | |
| Full-fat buttermilk (room temp) | 1 cup (240ml) |
Step-by-Step Instructions
-
Prep Your Space: Preheat your oven to 350°F (175°C). Grease two 8-inch cake pans and line the bottoms with parchment paper. This is non-negotiable if you want your cakes to pop out cleanly!
-
Cream the Base: In a large bowl (or stand mixer), beat the softened butter, oil, and sugar together for about 3–5 minutes. You’re looking for a pale, fluffy texture. This step incorporates air, which makes the cake light.
-
Add Eggs & Vanilla: Add the eggs one at a time, beating well after each addition. Stir in that generous tablespoon of vanilla.
-
Alternate Dry & Wet: Turn your mixer to low. Add the flour mixture in three parts, alternating with the buttermilk. Start and end with the flour.
-
Bake to Perfection: Divide the batter evenly between the pans. Bake for 28–32 minutes.
-
The Doneness Test: Stick a toothpick into the center; if it comes out with just a few moist crumbs (not wet batter), it’s done. Let them cool in the pans for 10 minutes before transferring to a wire rack.
The Science of Success (EEAT Principles)
As someone who has spent years in the kitchen perfecting the “crumb-to-flavor” ratio, I’ve learned that baking is as much chemistry as it is art. To ensure your vanilla cake recipe works every time, keep these three “Golden Rules” in mind:
1. Temperature Matters
If your eggs are cold and your butter is warm, they won’t emulsify. This results in a broken batter that looks curdled. Room-temperature ingredients bond together to trap air, which expands in the oven to give you that “fluff” factor.
2. The Power of Sifting
Vanilla cake is delicate. Sifting your flour and baking powder removes lumps and aerates the dry ingredients. It might seem like an extra step, but it’s the difference between a dense cake and a professional-grade sponge.
3. Don’t Peek!
Opening the oven door too early lets out a rush of heat and can cause your cake to sink in the middle. Wait until at least the 25-minute mark before checking for doneness.
Trending Variations for 2026
While a classic vanilla cake is a masterpiece on its own, it’s also the perfect canvas for creativity. Here are a few ways to level up:
-
The “London Fog”: Steep two Earl Grey tea bags in your buttermilk before adding it to the batter.
-
Salted Caramel Core: Use a cupcake corer or spoon to remove the center of the baked cake and fill it with salted caramel sauce before frosting.
-
The “Velvet” Twist: Swap the buttermilk for sour cream for an even denser, richer crumb that mimics a pound cake.
Pairing the Perfect Frosting
A vanilla cake is only as good as its crown. If you want something light, go for a Swiss Meringue Buttercream. If you’re looking for that classic birthday party nostalgia, a Crusty American Buttercream (heavy on the powdered sugar) is the way to go.
Frequently Asked Questions
Can I make this recipe dairy-free?
Absolutely. You can substitute the buttermilk for a “DIY” version: 1 cup of soy or almond milk plus 1 tablespoon of lemon juice. Let it sit for 5 minutes until it curdles. Swap the butter for a high-quality vegan butter stick.
Why did my cake sink in the middle?
This usually happens for two reasons: either the baking powder was expired (always check your dates!) or the oven door was opened too early, causing a sudden temperature drop before the structure was set.
How do I store this cake?
If unfrosted, wrap the layers tightly in plastic wrap and keep them at room temperature for 2 days. If frosted, the cake will stay fresh in an airtight container for up to 4 days. You can also freeze the layers for up to 3 months!
Final Thoughts
Baking a vanilla cake from scratch is a rewarding experience that fills your home with the most incredible aroma. It’s a recipe that carries through generations—from birthday parties to “just because” Sunday afternoons.
The most important ingredient, however, isn’t the flour or the sugar—it’s your patience. Take your time with the creaming process, watch your oven timer, and don’t forget to lick the whisk!